Garden Suncatcher
Imagine sitting in your kitchen, living room, or any favorite room of the house enjoying the sun rays filtered in through a custom piece of artwork from the garden. This blissful thought can easily become something you enjoy every day.
One of the best projects I’ve done with Little Gardenista infuses art and plants to create a custom piece of art we enjoy every day in our home - the Garden Suncatcher. This do-it-yourself project takes about an hour to create, but can be extended - especially if the whole family is having a blast! I’ve outlined the steps and supplies needed below to help guide you through creating your own unique suncatcher.
Supplies Needed:
Scissors or cutting shears
Basket or bowl
Garden materials
Border outline (construction paper or paper plate)
Contact paper
Glue stick (optional)
Hole Puncher
String or yarn
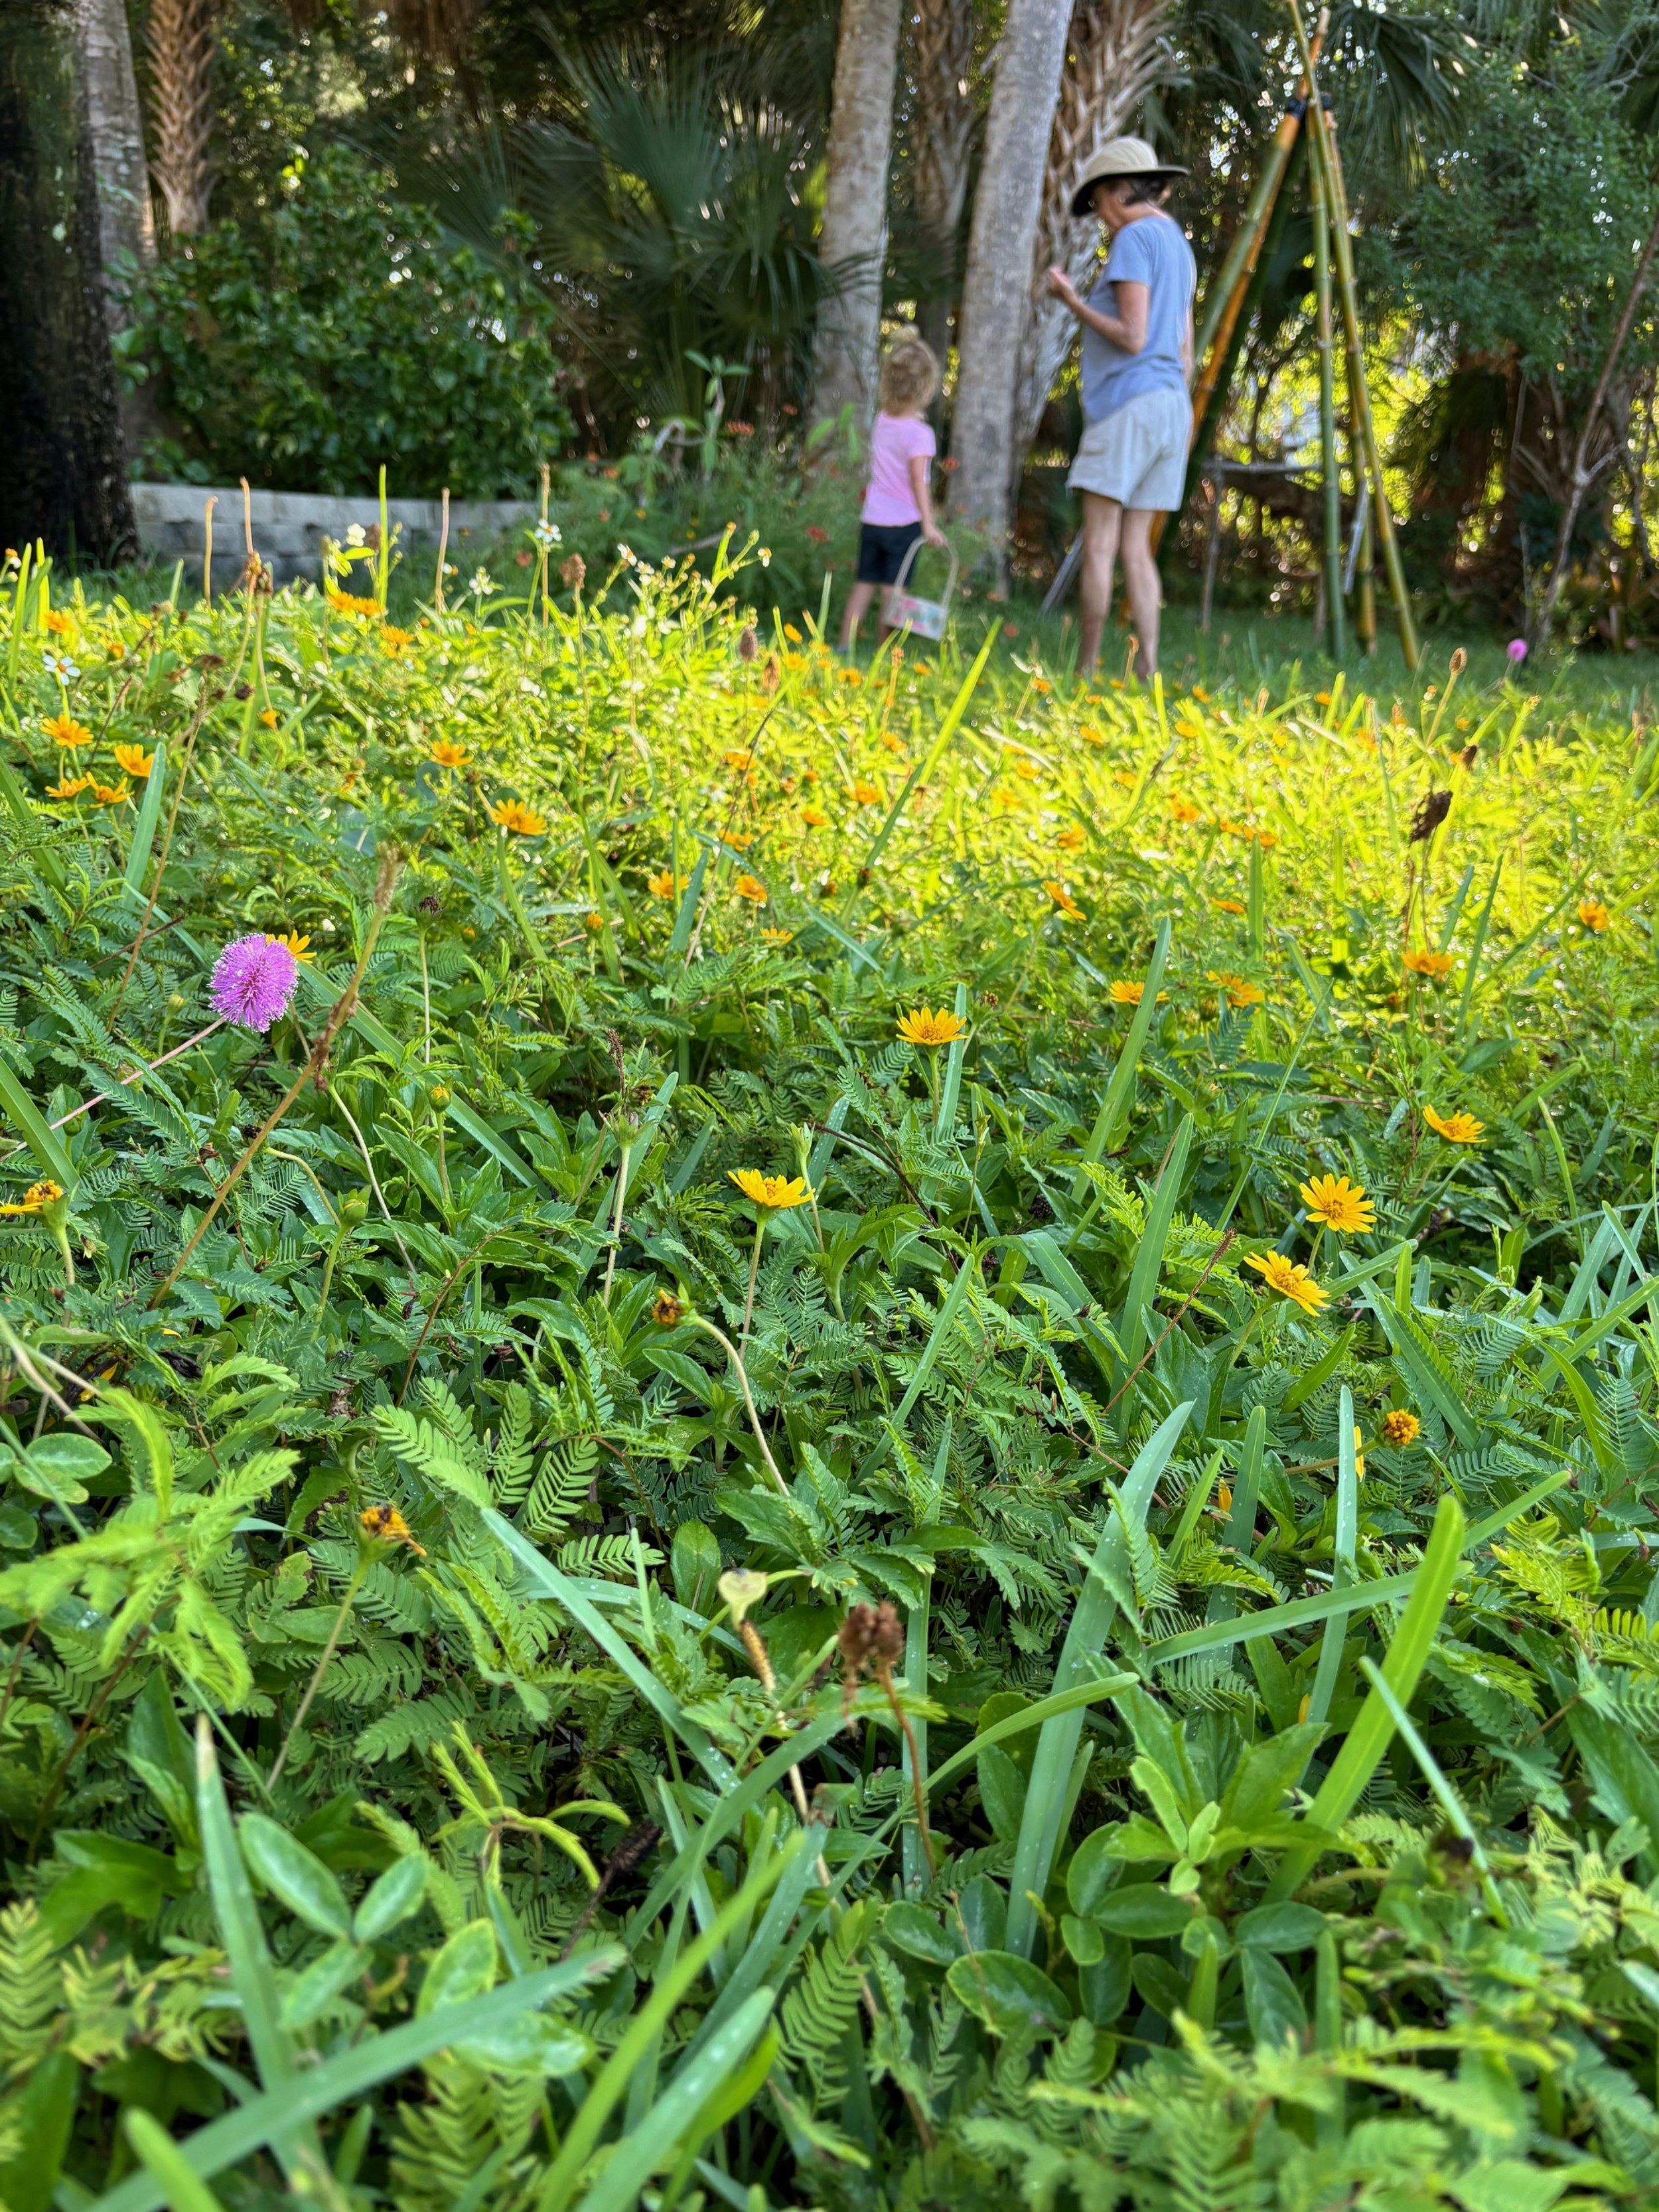
First step is a Garden Scavenger Hunt! You will need scissors or cutting shears, and something to save flowers, leaves, or berries in without squishing them like a basket or bowl. Certain steps like this one, can be quick or if certain family members are really having a blast picking flowers, slow down… enjoy the moment!
I always like to ask whoever is collecting with me about their favorite colors or point out different textures throughout the garden that may make the suncatcher extra special. A couple of things to keep in mind are length and thickness. What you intend to use as a frame for your suncatcher will help determine the size of your collected garden pieces. Smaller is better. Also, these flowers and leaves will be placed in between paper so the items collected can not be too thick.
After you've collected your garden materials, make sure they are dry. Mold will grow if moisture is captured in the suncatcher. Flowers or leaves can be dried by laying them on newspaper until dry or gently dabbing them with a towel.
While your medium (may confuse people to use a new term here - maybe use collection or pieces?) is drying, select what will be used for a border. I’ve used construction paper, paper plates, or even pieces of a cardboard box I was going to recycle. Here are a few key things to think about when selecting a border:
It needs to be sturdy enough to hold the weight and shape of the suncatcher.
The border needs to be two pieces or be able to fold.
If you want to hang the suncatcher, make sure you can cut or punch a hole through the material.
Once you’ve selected your border, now it’s time to create whatever shape you desire the suncatcher to be inside of the border! Will it be a circle? Heart? Rectangle? Be sure to leave enough room for the contact paper to stick. I usually leave about a half an inch or more.
Now trace the opening or “frame” of the suncatcher onto the paper side of contact paper. Do this twice, one piece for the front and one piece to stick on the backside. If you don’t want your pen or marker trace marks to show, it's important to trace only on the paper side. Cut the shapes out of the contact paper. If doing this with a child, I always encourage them to help with a few of these steps or give them scraps to trace or cut so they feel like they are a part of each step.
Once the contact paper is cut out, start to peel a corner then stop. Place the sticky side of that corner or edge onto the border or frame. Carefully peel the paper from the sticky side of the contact paper smoothing any wrinkles or bubbles as the paper is placed around the edges. This can be very tricky so take your time!
After securing the contact paper along the edges of the suncatcher’s frame, it’s time to start creating your garden collage! Start to place your garden materials one by one facing down so that the flowers, leaves, or berries “face” the stickiness of the contact paper. Once satisfied with your design, peel apart the second piece of the contact paper slowly placing it on the back side of the suncatcher to seal it.
Once your suncatcher is sealed, choose what side will be the top. Using a hole puncher or scissors to cut a hole in the top. Thread and tie a string or yarn through the hole.
The most important part of this project is to find the perfect spot to hang or place your garden suncatcher to enjoy!
If you love this DIY Garden Suncatcher project as much as my family has, please share your pictures or stories either in the comments below or email me at FloridaGardenista@gmail.com! It is so much fun to see what family and friends create:)


